We recommend visiting your country's website to view content specific to your region.
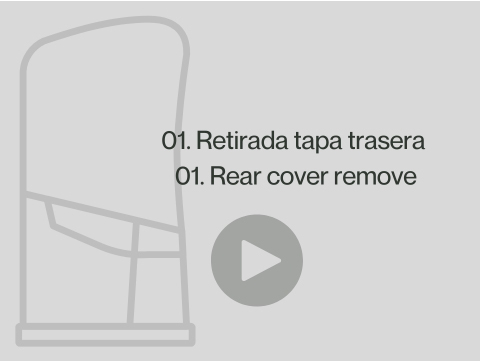
01. Removal of the back cover
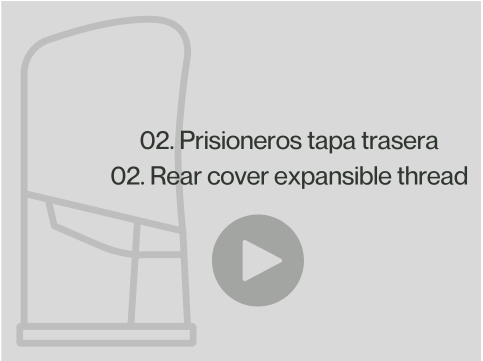
02. Prisoners back cover
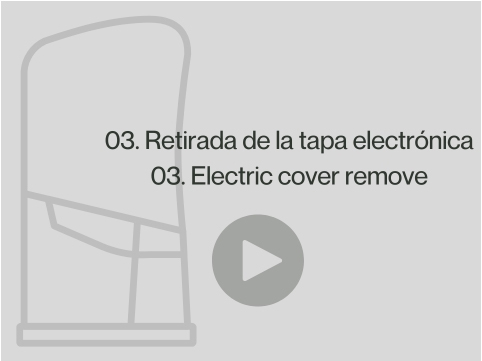
03. Removal of the electronic cover
04. Quitar el arrastre motor
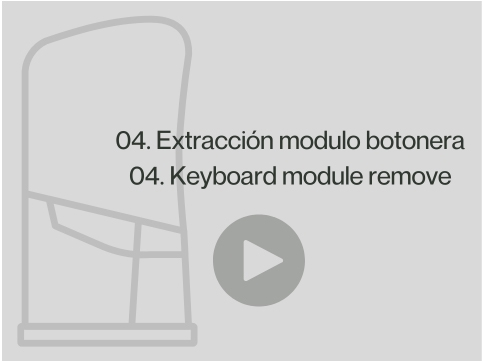
05. Button Panel Module Placement
06. Power Module Extraction
07. Placement of the power module
08. Desconectar conexiones del motor
09. Extraccion del motor
10. Minex Sump Extraction
11. Removal of the positioning module
12. Desmontaje del ventilador
13. Placement of the back cover
14. Dock Withdrawal
15. Placement of the grinding wheel
16. Montaje del motor
17. Placement of the rotor shaft
18. Withdrawal of the Retainers
19. Placement of the seals
20. Removal of the pinion cam
21. Placement of the pinion cam
22. Gearbox assembly
23. Security micro switch remove
24. Dismantling of the deck detector
25. Placement of the security microphone
25a. Assembly of the Deck Detector
26. Removal of the bucket sensor
27. Placement of the bucket sensor
28. Power cable replacement
30. Front Change
31. Power Cable Update